


Apparently I am on a sewing kick. I found this fabric on sale (.90 for 2 yards) and created this top. E had a pair of jeans that had holes in the knees so I decided to turn them into a pair of cutoffs with a cute fabric cuff. As usual, I didn't follow a pattern, but I did sketch it out and write down what I did as I sewed.
Here's what I did:
*Measurement based off E, who wears about a size 7 or 8. Her chest measures 26 inches around. Seam allowances are generally 1/4" (sometimes 1/2 depending on my lack of paying attention).
Bodice: 13" x 45"
2 Straps: 3" x 8"
Bottom panel: 4" x 45" (if you don't like panel, cut the bodice panel to 15")
Cuffs for shorts: 2 pieces 4" x 11 1/2". Measure the openings of the legs after cutting off the bottom of the pants. I cut about a 1/2" above the holes in the knees).
Bodice:
Turn top edge of piece under 1/4" twice (to form a finished edge) and topstitch.

Change bobbin to one with elastic thread for shirring. I learned how to shirr from Sandi Henderson's tutorial via Sew Like My Mom.
Measure 1/2" down from topstich. Shir across the length of the bodice. Back stitch a few times at the beginning and end. After the first row I move my needle to the left, then use the edge of my presser foot as a guide for the remaining 9 rows. This leaves about a 1/4" space between each row. Blast with steam once you are done to help the elastic thread shrink up (I've been having some issues with my iron and its steam function! Hopefully yours works better than mine). Tie ends of elastic thread together.

Straps:
Fold 3" x 15" in half lengthwise, right sides together. Sew along raw edges to for a tube. Turn right side out. Press so that seam is to one side (or in the middle which is what I usually do).
Find middle of shirt.Measure out 2" from middle on each side. Pin straps in place ( I actually did this by having E try on her top and then pinning them into place). Top-stitch each strap in place along your first row of shirring.

For placement of the straps in the back I had E try on the top once again. After crossing the straps I pinned them in place and top-stitched them (after E had taken off the top- 'cause that would have really sucked for her if she hadn't taken it off).

Bottom Panel:
Fold in half width wise and sew raw edges together to form a circle. Fold the top edge down to meet the bottom edge so that you have a 2" tube of fabric, right side out. Press .


Shorts:

 Cut off a pair of jeans. I cut just above the holes in the knees. Set aside. Fold the 4" x 11 1/2" strips in half width wise and sew raw edges together. Press seams open. Fold top edge down to meet the bottom edge, just like you did with the bottom panel of the shirt. Pin the right sides of the jeans and fabric loops together and sew around the edge (This is a huge pain. I was almost tempted to hand stitch the darn things after I did the first leg). Press seam allowance upward. Turn right side out. Top-stitch close to the seam. Repeat with the other leg. These cuffs can be folded up to hide the top-stitch or left down.
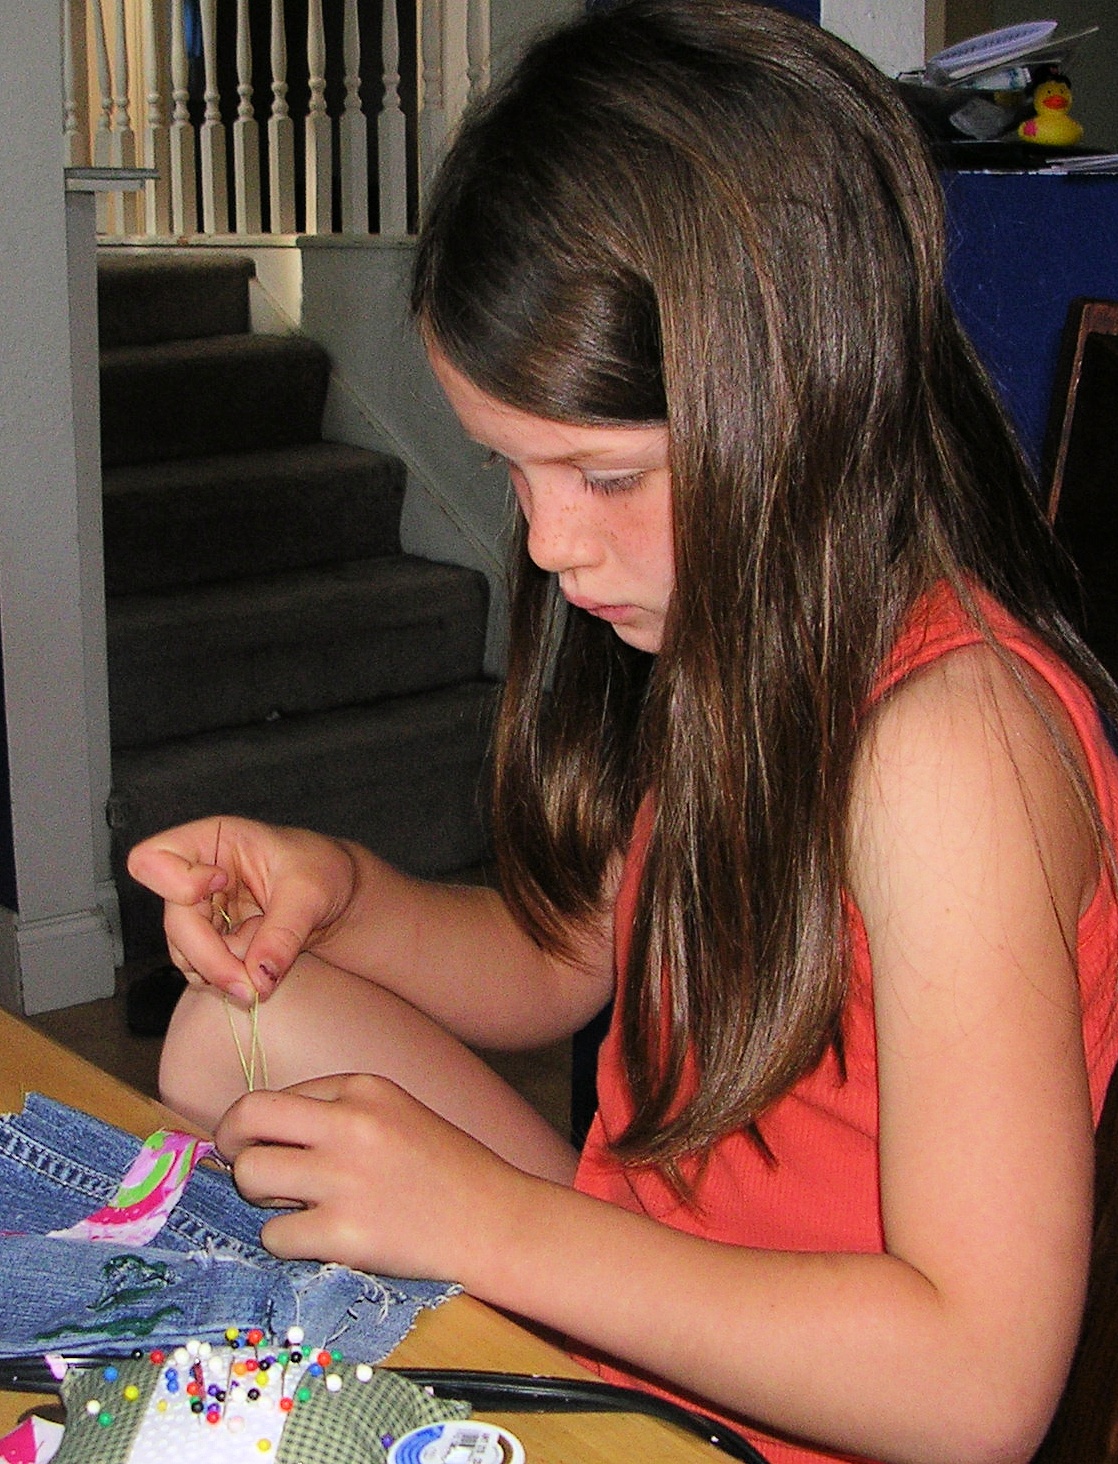
This outfit didn't really take that long to make. In fact, the longest part was the pant legs. But that was mainly due to E and J wanting to sew also. I spent a lot of time threading needles and showing them how to make a basic stitch.
 |
| Please disregard the mess in the background- I chose to sew last night instead of doing the dishes :) |
This is amazing!!! :-)
ReplyDeleteWhat a cute dress and what a cute little girl!
ReplyDeletesuch a cute dress! I found your blog through a link party and LOVE it! I am your newest follower and would love it if you would check out my blog and follow me too! Thanks!
ReplyDelete-Nikki
http://chef-n-training.blogspot.com/
LOL I always choose art before dishes! Love your sewing tutorial for this cute top
ReplyDeleteKAT Griffin
This turned out SOOO cute, I need to try a project with the elastic thread!
ReplyDeleteCarlee
www.ladybirdln.com
Following you from Design it Chic GFC hop - hope you'll follow back :) www.savingbythesea.com, Saving by the Sea on FB and gracie680 on Twitter.
ReplyDeleteThanks for stopping by my blog, now I get to check yours out! What an adorable outfit! You did a really fantastic job!
ReplyDeleteWhat a great job you did, well done! I never use patterns either, saw you on link party, now google following you, Karima x www.karimascrafts.com
ReplyDeleteYou are so incredibly talented! I love the fabric- I can't believe that you got it for so cheap! What a great deal! Your daughter is beautiful- and her outfit is so dang cute! Thank you so much for linking up to Strut Your Stuff Saturday- we would LOVE to have you come back tomorrow and link up more of your great posts!
ReplyDelete-The Six Sisters
http://sixsistersstuff.blogspot.com